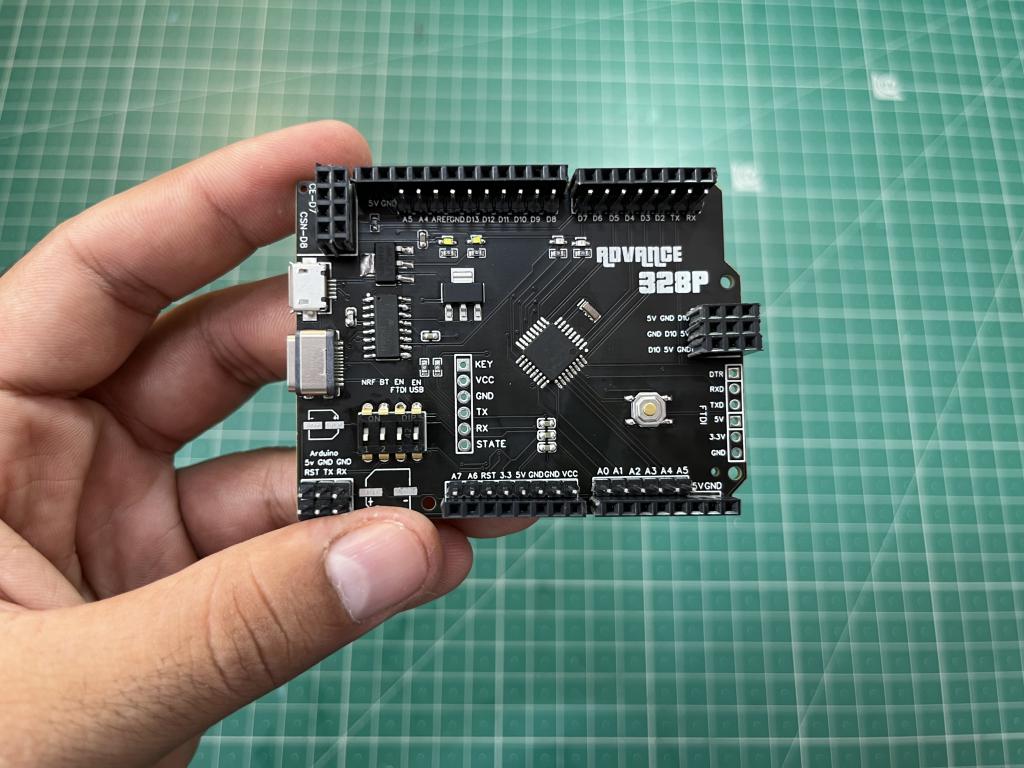
DIY Arduino UNO PRO version 2
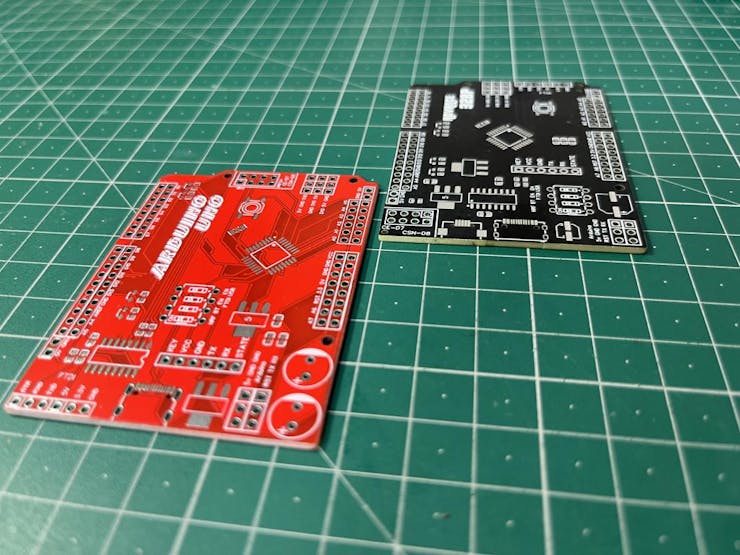
A new version of Arduino UNO PRO is out now, I changed the orientation of components and a specific improved design. Now has more compatibility options with micro-USB port for power delivery and programming. This Arduino UNO pro version has all the similar features to the previous one, you can see version 1 from here. But there are some issues in the I2C screen positions and sensor headers. If we try to connect the onboard I2C OLED then there is no space to connect the sensor on 3×3 header matrix made by me to overcome the problems of external jumpers.
And the components specially usb type C connection soldering is a very big headache that why I know I tried to go with SMT service from JLCPCB. Which costs me just $8 for the assembling and solder joints.
Circuit diagram:
I only changed the orientation of the components and all the remaining is same as previous one. Includes all the features and fully compatible to Arduino. You can also mount the Sensors and modules directly through I2C headers.
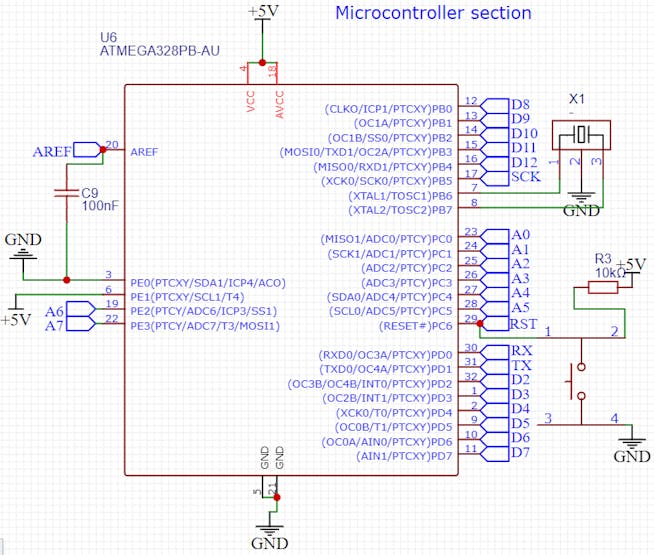
A 6-pin header for Bluetooth connection, onboard NRF24l01 headers, ICSP and FTDI external headers. Every instruction of connection is given in the previous version see version 1 from here. Download the full circuit diagram and Gerber files from here.
Previous v/s this version:

I only upgraded the ports option, and headers positions are changed. Because I feel a difficulty when placing both sensor and OLED together. For the bootloader and sketch uploading all the instructions are same.
Assembly process:
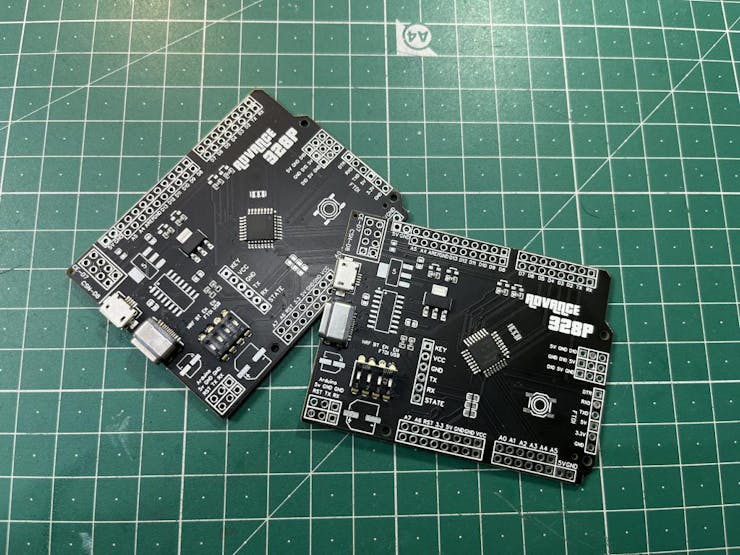
I used JLCPCB assembly service to get the soldering and parts assembly. The assembly will take only 3 days after manufacturing the PCB and you will get the original components directly from the manufacturers. The quality of soldering and assembling is really fantastic every soldering joint gives the feeling of original Arduino.
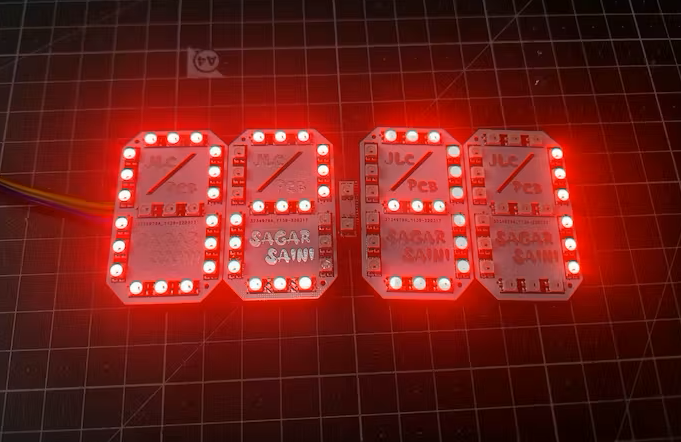
Soldering headers and other components:

I only choose SMD components for assembly, Nowadays JLCPCB also provide full PCBA dual sided, through hole mounting service with economy service. Components choosing is done on the base of basic components. It will not cost more and it is advised to use EasyEDA with JLCPCB always.
How to order SMT assembly from JLCPCB:
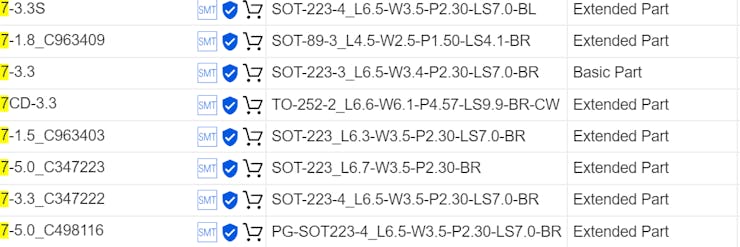
First: Made the schematics according to the desired circuit in EasyEDA, you should choose basic parts in the editor. Which will cost less and the components are already loaded in the feeder in the assembly lanes. Other extended parts will cost $3 per component.
Second: Then convert the designed PCB into Gerber then export BOM and CPL files.
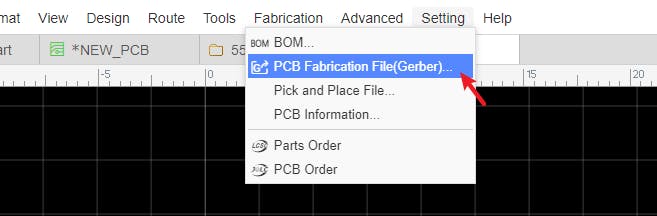
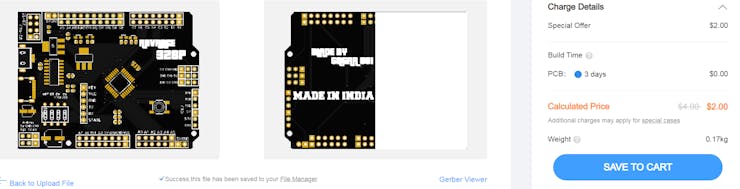
Third: Upload the Gerber file to JLCPCB and choose all the parameters like – Material, color and finish type.
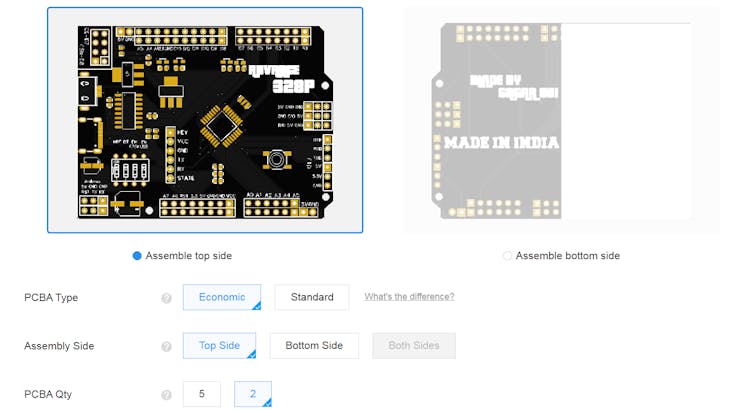
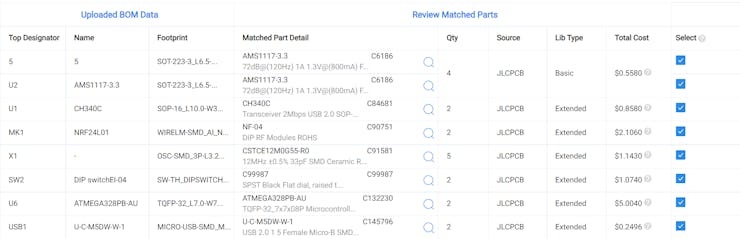
Fourth: then click on PCB assembly and upload the BOM (bill of material) and CPL (pick and place files). These two files are used to define the cost and orientation of placed components on the PCB.
Fourth: then click on PCB assembly and upload the BOM (bill of material) and CPL (pick and place files). These two files are used to define the cost and orientation of placed components on the PCB.
Fifth: Choose all the assembly components and then add the PCB into cart.
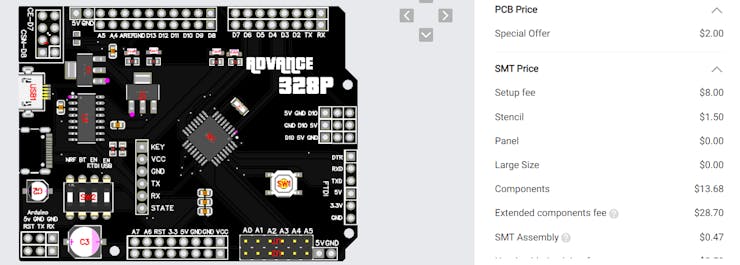
Sixth: Go to checkout and pay the PCB and SMT assembly fees. You will get the PCB in 7 days after completing the process.