Arduino VU meter using Neopixel LED
I made many projects regarding Audio amplifiers and preamplifiers but this tutorial is for the visual music experience. I am going to make a music reactive neopixel based LED strip. The LEDs will glow according to the change in beat and the color is changed automatically. This type of multi color RGB pattern gives a better look to home theater/ DJ system.
Neopixels are the addressable RGB LEDs and every single bit can be programmed separately with ON/OFF and a color from 0-255. These LED has 4 pins the data output of each led is connected to data input of next. Which make a serial data connection and a single digital pin is enough to provide control to whole stripe. These LEDs can work on a voltage of 3.3-5volt with a 20mA of current consumption.
Components required:
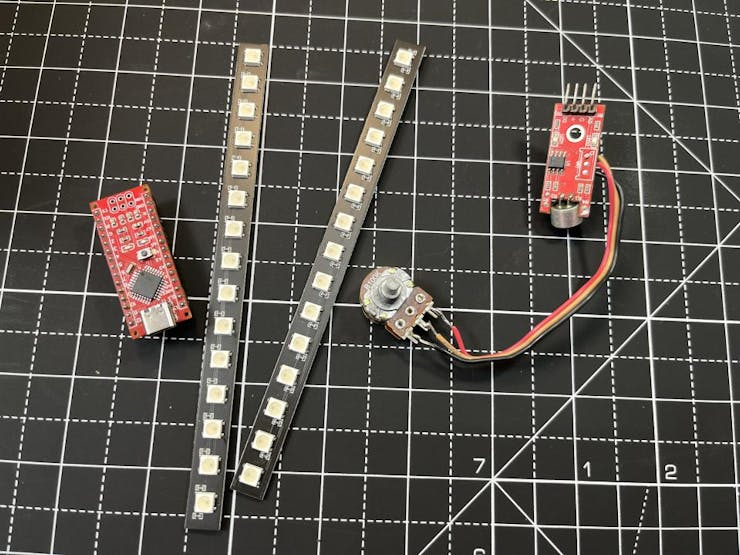
1) Arduino
2) WS2812 LED stripe from JLCPCB
3) Battery and wires
4) Analog sound sensor
Circuit diagram:
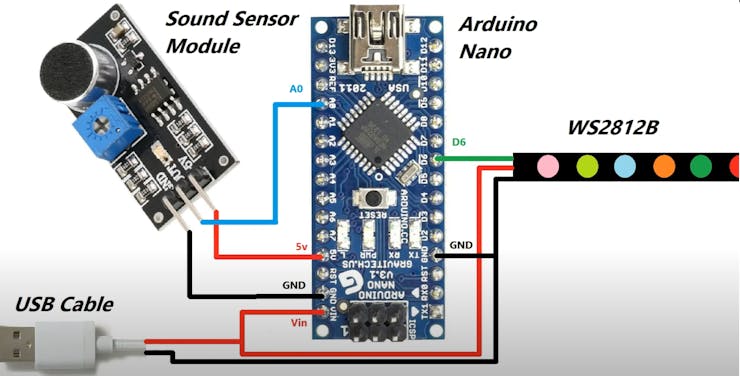
The analog value of sound detected by the sensor goes to ADC of the Arduino. Then according to the volume the brightness and the effect of neopixel is controlled. On every up and down in bass, treble change the effect of RGB. But we have to tune the sound sensor very precisely and I am using a 100k external potentiometer here. But I recommend to use a multiturn version. A 9volt battery is enough to power up whole the system.
PCB layouts:

I made this WS2812 LED stripe using JLCPCB SMT assembly service and you can download all the required files directly from here. All the power connections are done in parallel and a small 100ohms resistor is placed as current limiter. All the data connection are done in series.
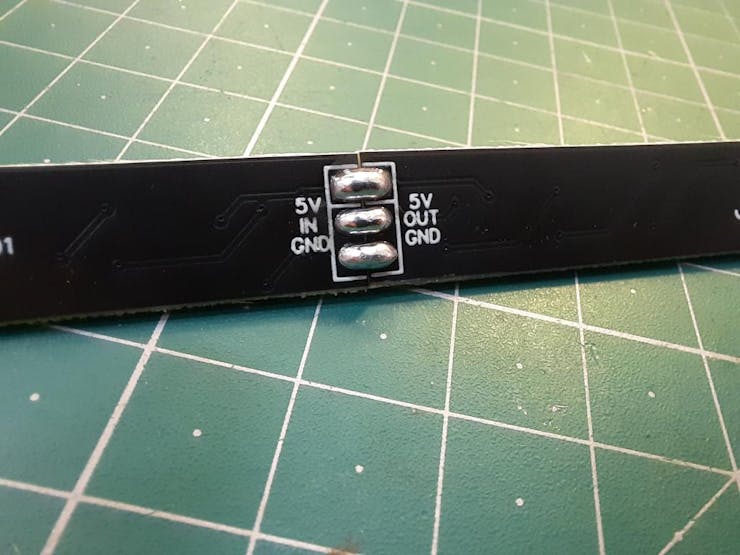
You can join multiple RGB stripes together to make a bigger one. There are 15 LEDs in one stripe, you have to modify the code line according to the number of neopixels used.
Why JLCPCB for SMT services:
I am using JLCPCB prototype services for a long time but now I tried SMT assembly, JLCPCB is offering SMT assembly service just in $8. Which is a way cheaper than other manufacturers and JLCPCB has LCSC as parent company for component sourcing.

By the way, you can check the more details on official website JLCPCB.com and you will get $54 new user coupon reward if you register using this link.
Code for Neopixels:
Some basic Adafruit libraries are used in this code which can be downloaded from manage libraries section under tools menu in Arduino IDE.
#include <Adafruit_NeoPixel.h>
#ifdef AVR
#include <avr/power.h>
#endif
int outputValue=0;
int rememberOutputValue;
int randNumber;
int counter = 0;
int loopCounter = 0;
#define PIN 6
#define NUMPIXELS 60
Adafruit_NeoPixel pixels = Adafruit_NeoPixel(NUMPIXELS, PIN, NEO_GRB + NEO_KHZ800);
void setup() {
// put your setup code here, to run once:
pixels.begin();
randomSeed(analogRead(0));
Serial.begin(9600);
}
uint32_t Wheel(byte WheelPos) {
WheelPos = 255 - WheelPos;
if(WheelPos < 85) {
return pixels.Color(255 - WheelPos * 3, 0, WheelPos * 3,0);
}
if(WheelPos < 170) {
WheelPos -= 85;
return pixels.Color(0, WheelPos * 3, 255 - WheelPos * 3,0);
}
WheelPos -= 170;
return pixels.Color(WheelPos * 3, 255 - WheelPos * 3, 0,0);
}
void loop() {
int sensorValue;
counter = 0;
for (int i=0; i < 100; i++){
sensorValue = analogRead(A0);
if(sensorValue > 100) counter++;
}
if(map(counter, 10, 60, 80, 80) > outputValue)outputValue = map(counter, 00, 40, 0, 40);
else if(loopCounter %2 == 0)outputValue-=1;
if(outputValue < 0) outputValue = 0;
if(outputValue > 60) outputValue = 60;
if(loopCounter % 100 == 0)randNumber = random(255);
loopCounter++;
for(int i=0;i < NUMPIXELS;i++){
pixels.setPixelColor(i, pixels.Color(0,0,0, 255));
}
if(rememberOutputValue != outputValue){
for(int i=60;i > (60-outputValue) || (outputValue == 20 && i == 0);i--){
pixels.setPixelColor(i, Wheel((randNumber) & 255));
}
pixels.show();
}
rememberOutputValue = outputValue;
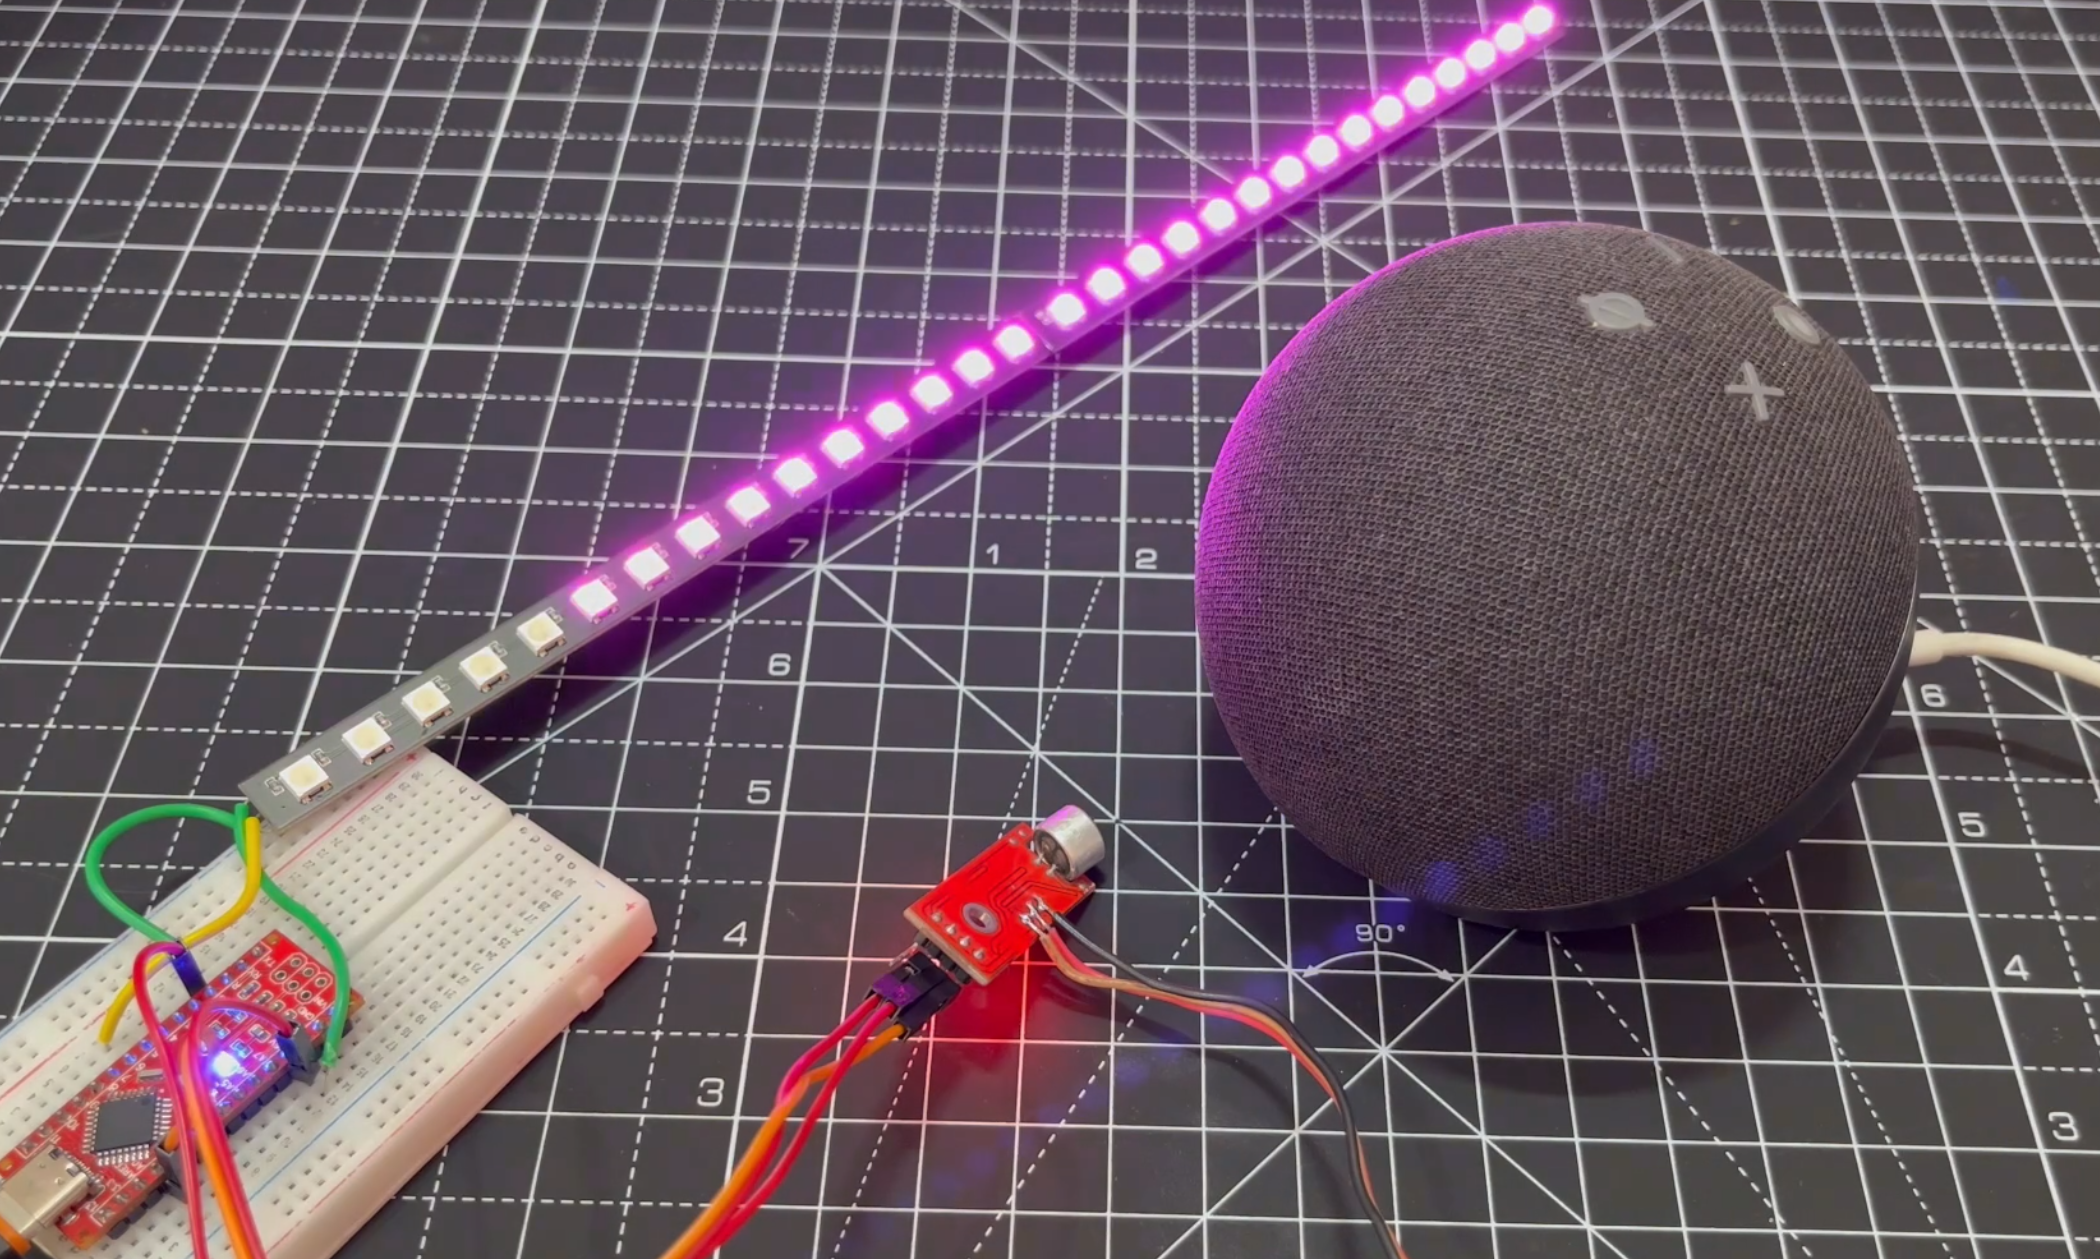
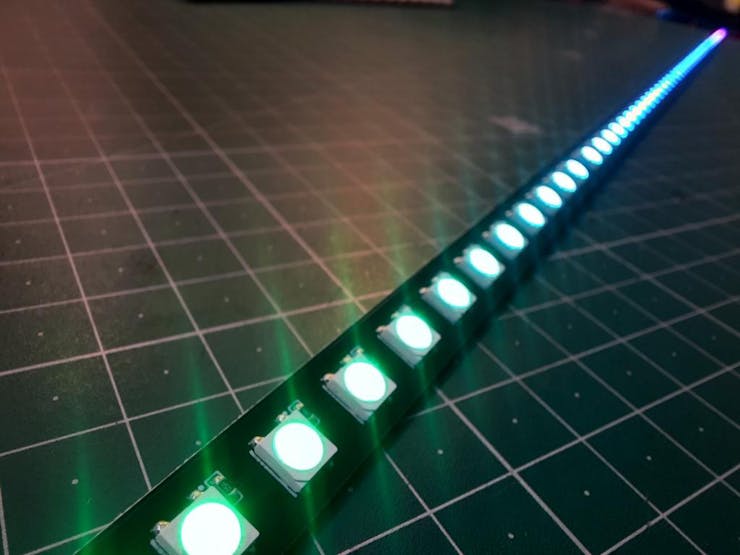
}Project Demonstration:
Project is working very fine, As I said earlier potentiometer should be tuned precisely with respect to the audio volume to get the full spectrum on the VU meter.
Increasing the volume will increase the brightness and glowing values. Similarly if the volume goes down the LED stops blinking and effect is vanished.