

200 Watt class D amplifier performance
Hello guys, I am making amplifier circuits and controllers for a long time. But there are some issues with big amplifiers, need high power supplies, big heatsinks, dual channel power and low output. Even we need a big PCB and other combinational modules for controlling bass, treble and subwoofer at all.

These become very messy, we can’t use them directly as car stereo systems. Also, we need some voltage converter to do the job. By the way, I have something which can revive us from these problems. And that is Class D amplifier.
Class D amplifiers:
A class-D amplifier or switching amplifier is an electronic amplifierin which the amplifying devices (transistors, usually MOSFETs) operate as electronic switches, and not as linear gain devices as in other amplifiers. They operate by rapidly switching back and forth between the supply rails, being fed by a modulator using pulse width, pulse density, or related techniques to encode the audio input into a pulse train.
The audio escapes through a simple low-pass filter into the loudspeaker. The high-frequency pulses are blocked. Since the pairs of output transistors are never conducting at the same time, there is no other path for current flow apart from the low-pass filter/loudspeaker. For this reason, efficiency can exceed 90%.
INK201BT amplifier:
This kind of bluetooth audio power amplifier module is a good replacement for the damaged bluetooth module, which can provide you with good performance. This 2.1 channel power amplifier is easy to change, you can install and use it conveniently. This kind of 2.1 channel audio amplifier provides you with stable and quick connection, which works with wide compatibility.
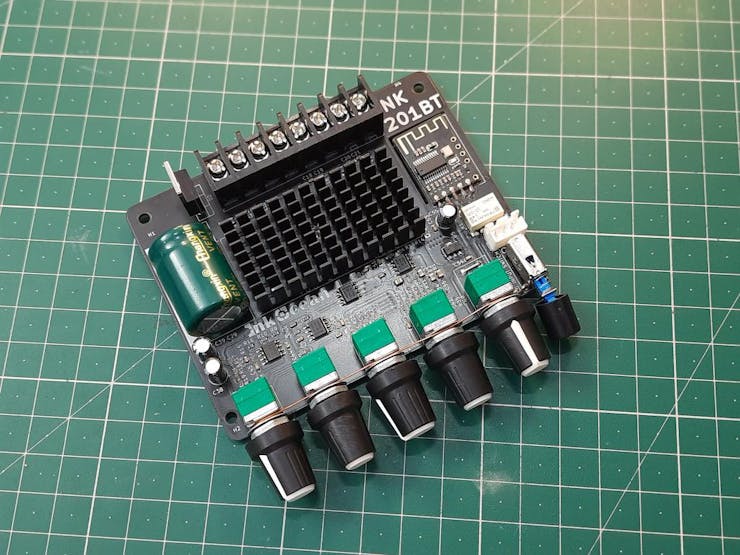
This power amplifier module supports 2 input modes, including bluetooth and Aux, you can order according to your need. This kind of audio amplifier is enough to meet your different needs, you can adjust the frequency, volume, high pitch, low pitch, etc. Buy this amplifier board from here.
Features:
Material: electronic components. Color: black. Size: 93x90x22mm. Bluetooth version: 5.0. Audio input: AUX, bluetooth. Channel: 2.1. Power: DC12-24V / 5A. Adapter speaker: 20-100W, 4-8Ω. Output power: max 50W(right and left sound track), max 100W(subwoofer).
Video:
My Class D amplifier:
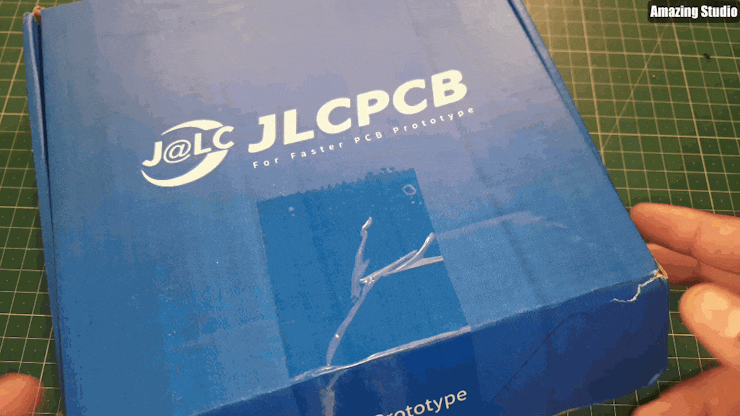
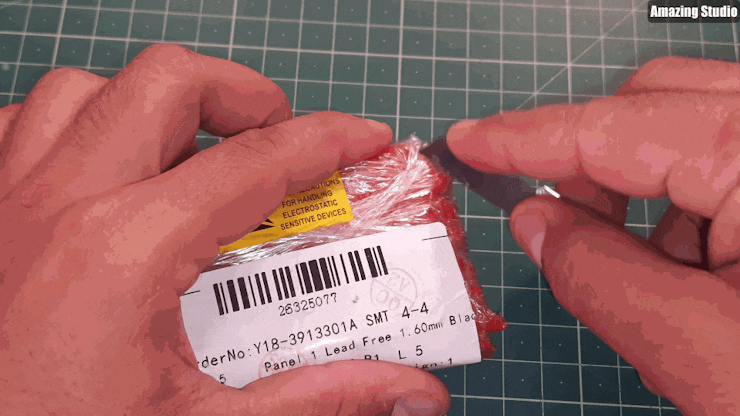
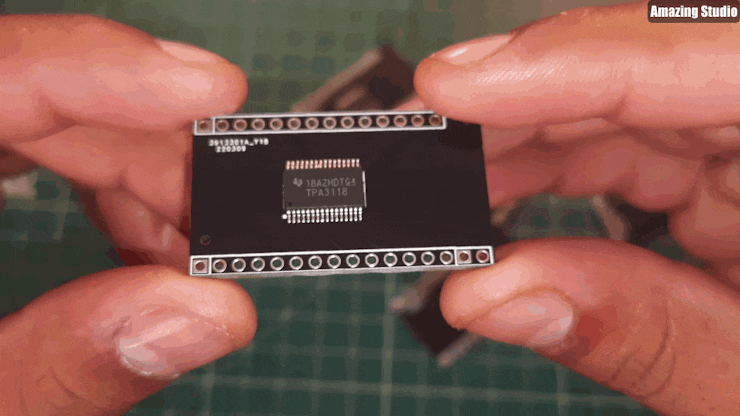
I want to try the TPA3118 (the most popular class D IC). Nowadays the most of high quality and high power amplifiers use this IC. I want one, but this one in not sold separately in India. Here JLCPCB come into play I used SMT assembly service to buy the amplifier IC. I designed a breadboard friendly breakout and order it from JLCPCB.
I will update you here, with another post after making a successful class D amplifier. I think JLCPCB is best for SMT assembly service. You will get cheapest service and best experience. If you sign-up using this link you will get free rewards of worth $27 as coupons.
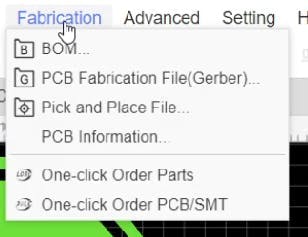
How to order SMT assembly:
For this you need just 3 files1) Main Gerber file (Contains PCB data)2) BOM File (Bill of material, component cost)3) CPL file (Pick and place file- describe orientation of components)I am using EasyEDA for my projects since 2017 (And here are some steps)Generate GERBER:
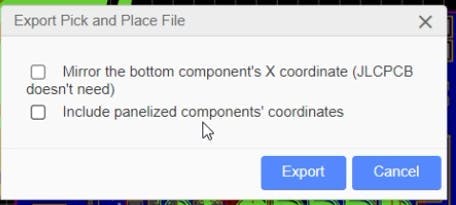
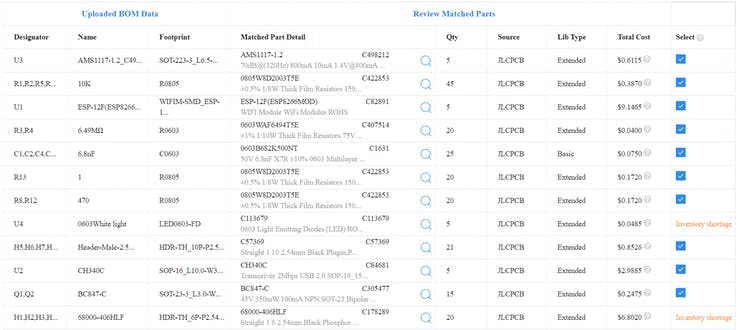
Generate BOM AND CPL:
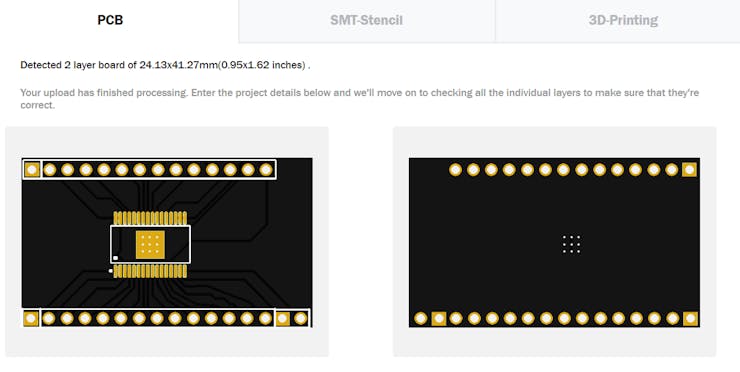
GO to JLCPCB and upload your GERBER file there, select all parameters.
Click SMT assembly service and upload your BOM and CPL files there:
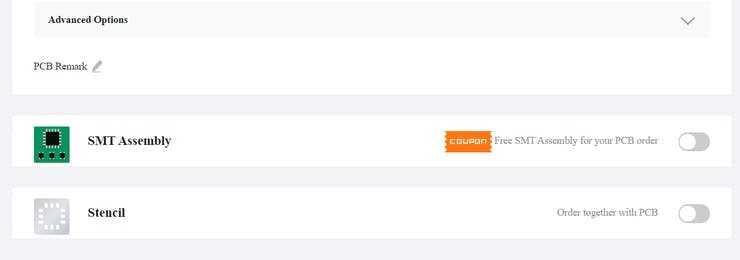
Then select the components and checkout to JLCPCB, A coupon is there for SMT service discount.
Make the payment and get the boards in just 7 days.

Also, I want to mention 1 thing here, If you order 5 PCB assembly service the cost is around $23(for my design) but If we order 50pcs assembled PCB cost would not be ($23*10= $230), For my one this is only $121, Included PCB’s (worth $17) and components cost($90).So here the assembly cost for 50 boards are just $14. Which would be decreased to $5 after applying coupon. So let’s SMT assemble the PCB (https://jlcpcb.com/SSR).
Pcb Prototype:
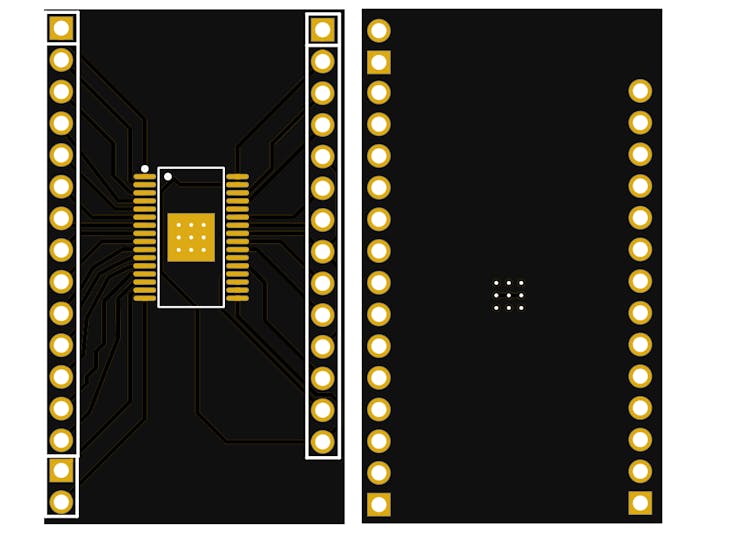
On PCB I placed the IC and then connect all the pins to pin header to go with breadboard assembly. A big thanks to JLCPCB to provide these chips with assembly service.
More projects:

1) How to make Arduino Nano board2) Pulse Oximeter and BPM measuring using Arduino